MR-i CNC Build
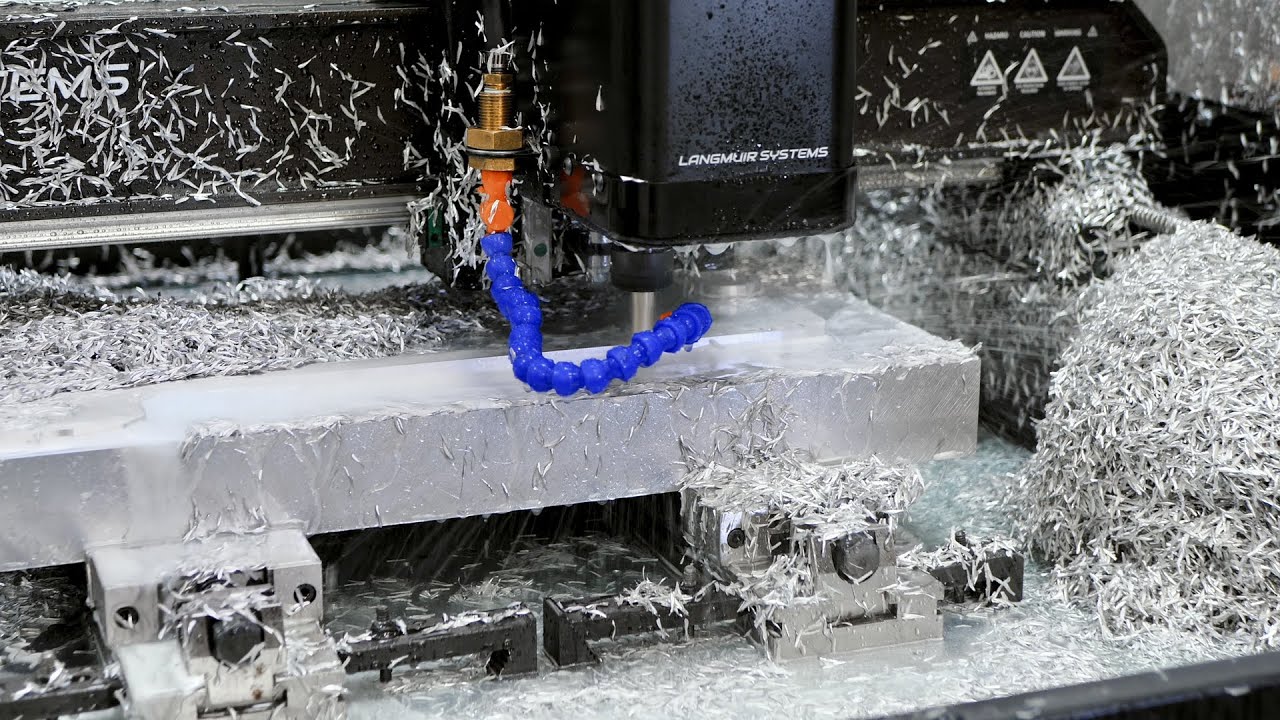
This was a personal project I began after graduating college as a way to continue expanding my skills in metalworking and fabrication. I had always wanted a CNC milling machine, but most options were far too expensive. When the MR-1 CNC kit was released—a machine sold as a complete DIY assembly with every part provided unassembled—I saw it as the perfect opportunity to build one myself. Over the course of a year, while balancing graduate school, I assembled the machine piece by piece with the help of a close friend. The project taught me a great deal about CNC systems, precision assembly, and mechanical alignment, and the result was a fully functional, high-performance milling machine that we now use for a variety of fabrication and engineering projects.
Epoxy and Concrete
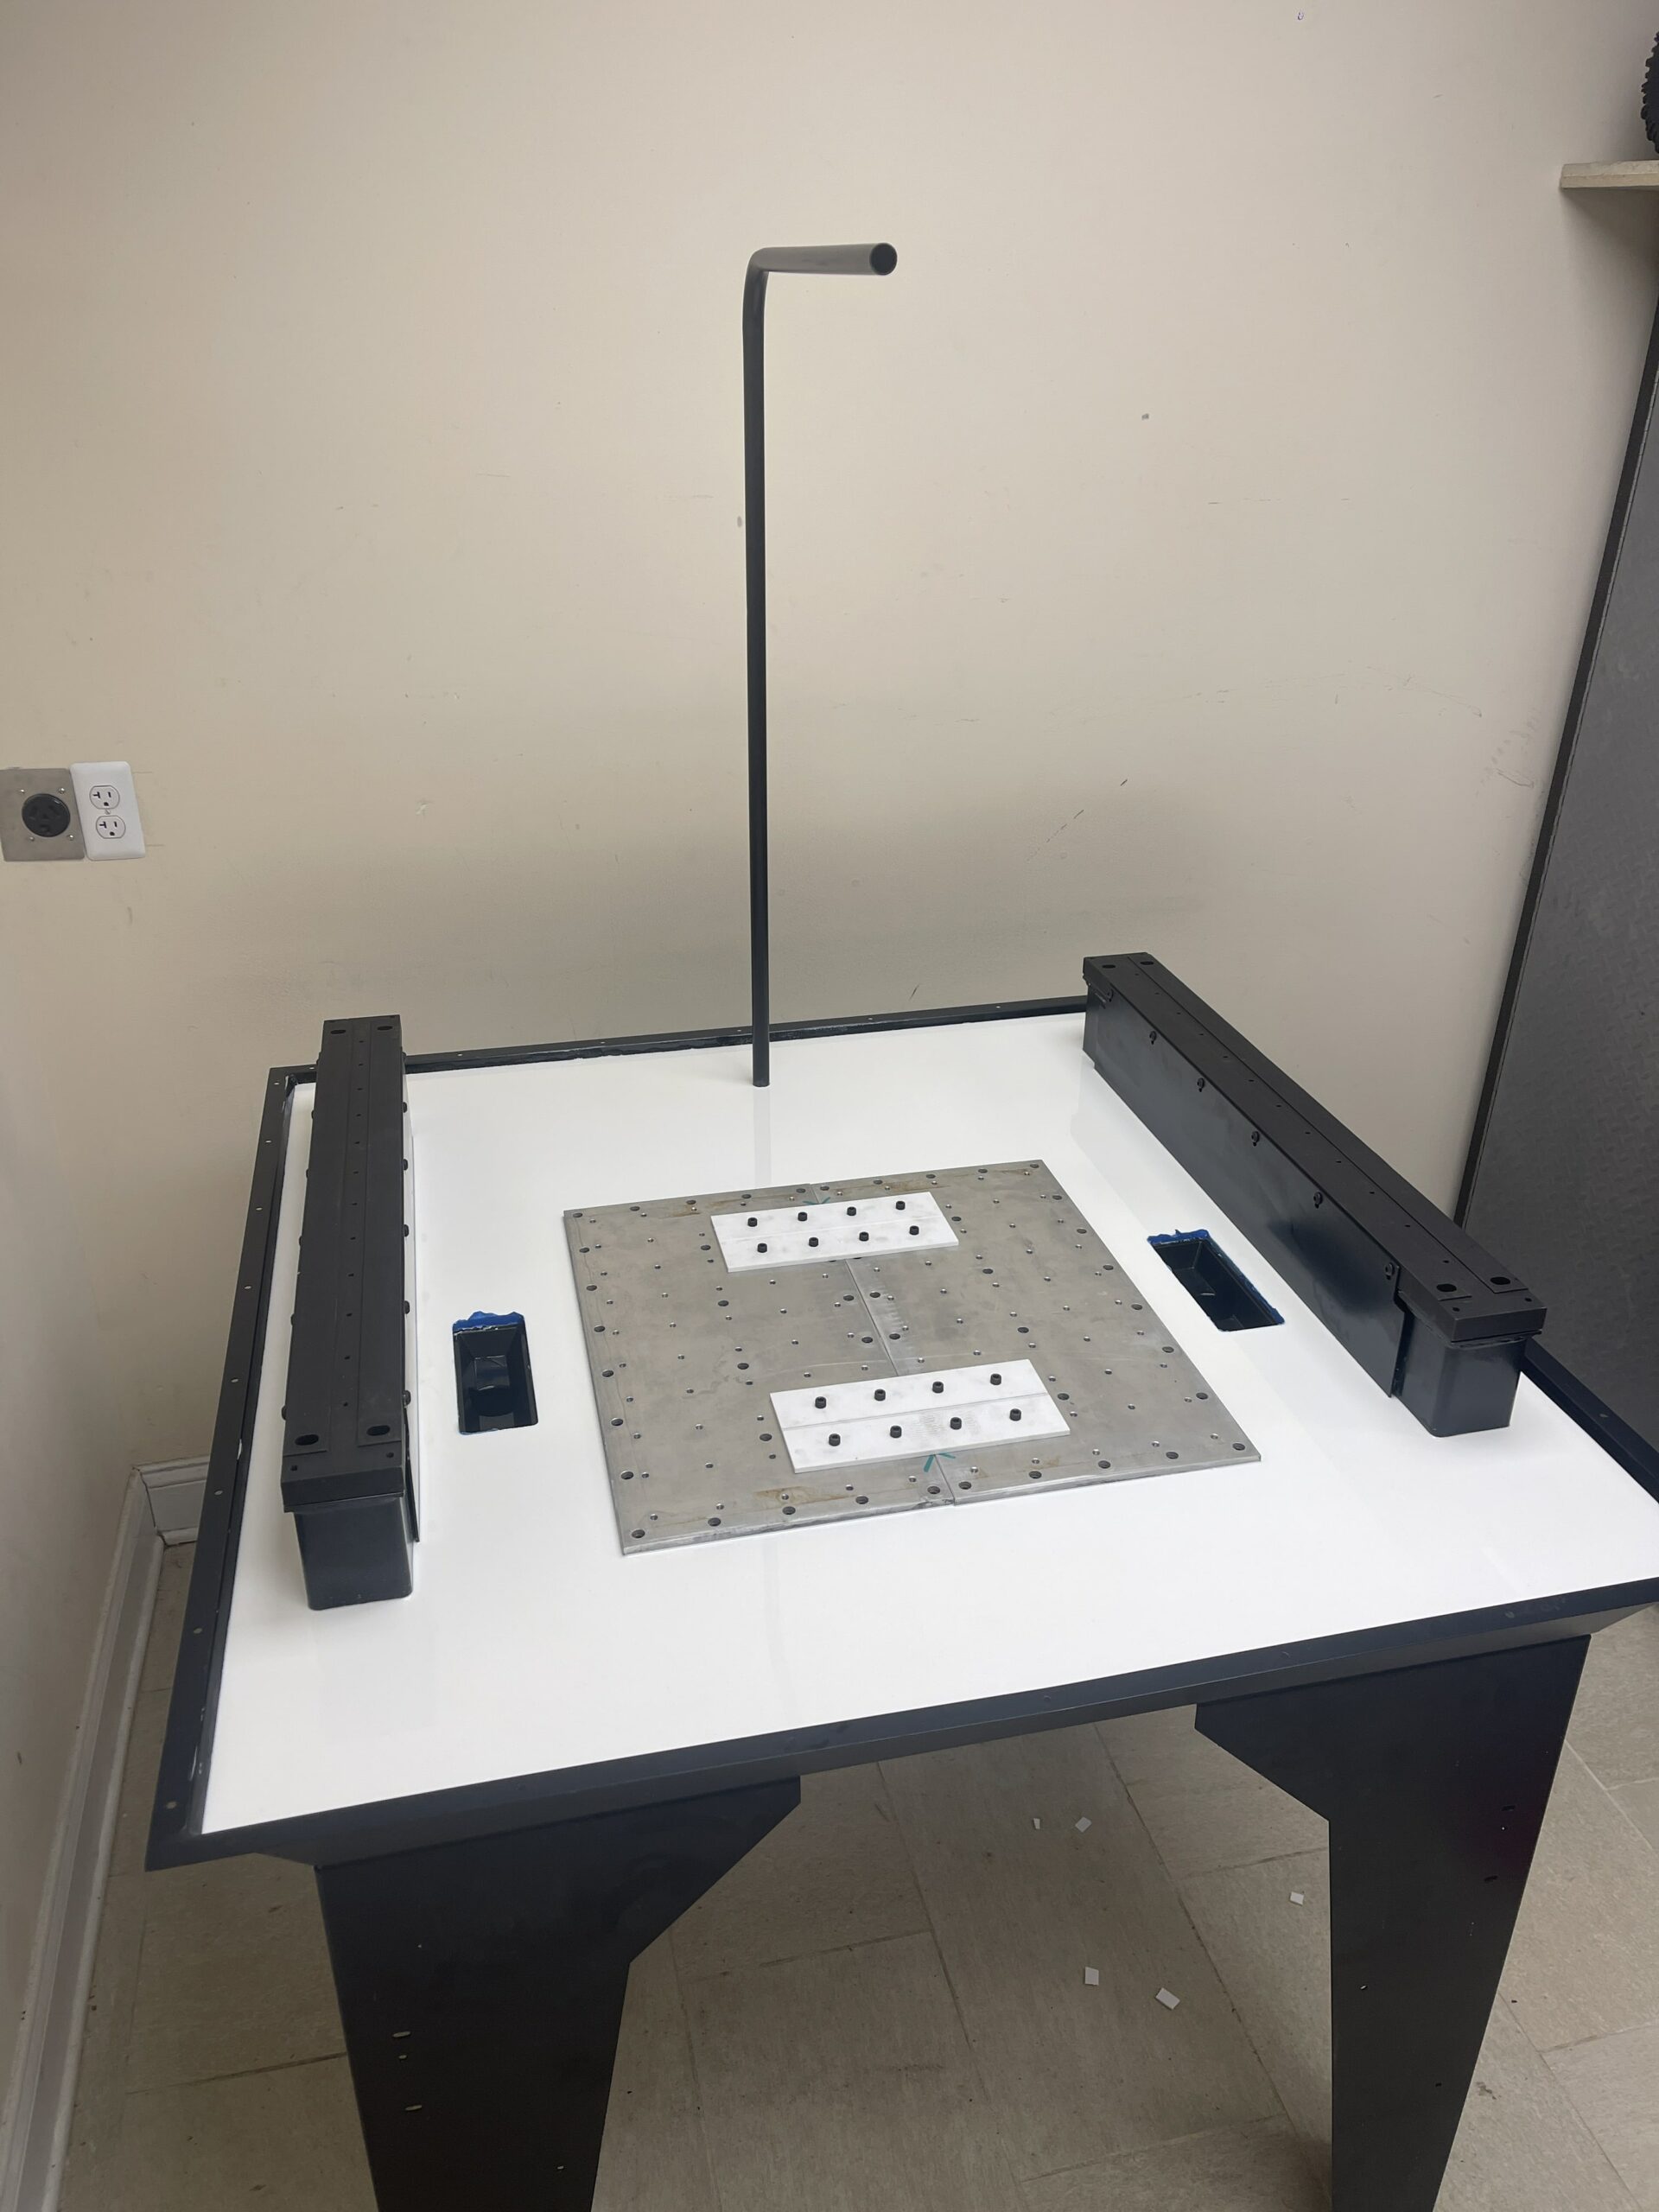
The epoxy and concrete process is a critical step in the assembly of the MR-1, designed to provide stability and rigidity to the machine. This involves filling the machine's steel base with a precisely mixed concrete and epoxy combination to dampen vibrations and ensure a solid foundation for accurate machining. The mix is poured carefully into the base to avoid air pockets and allowed to cure fully, forming a dense, stable structure that enhances performance and reduces operational noise. This process ensures the MR-1 operates with precision, even under high loads or extended use.
X,y,z-axis Set Up
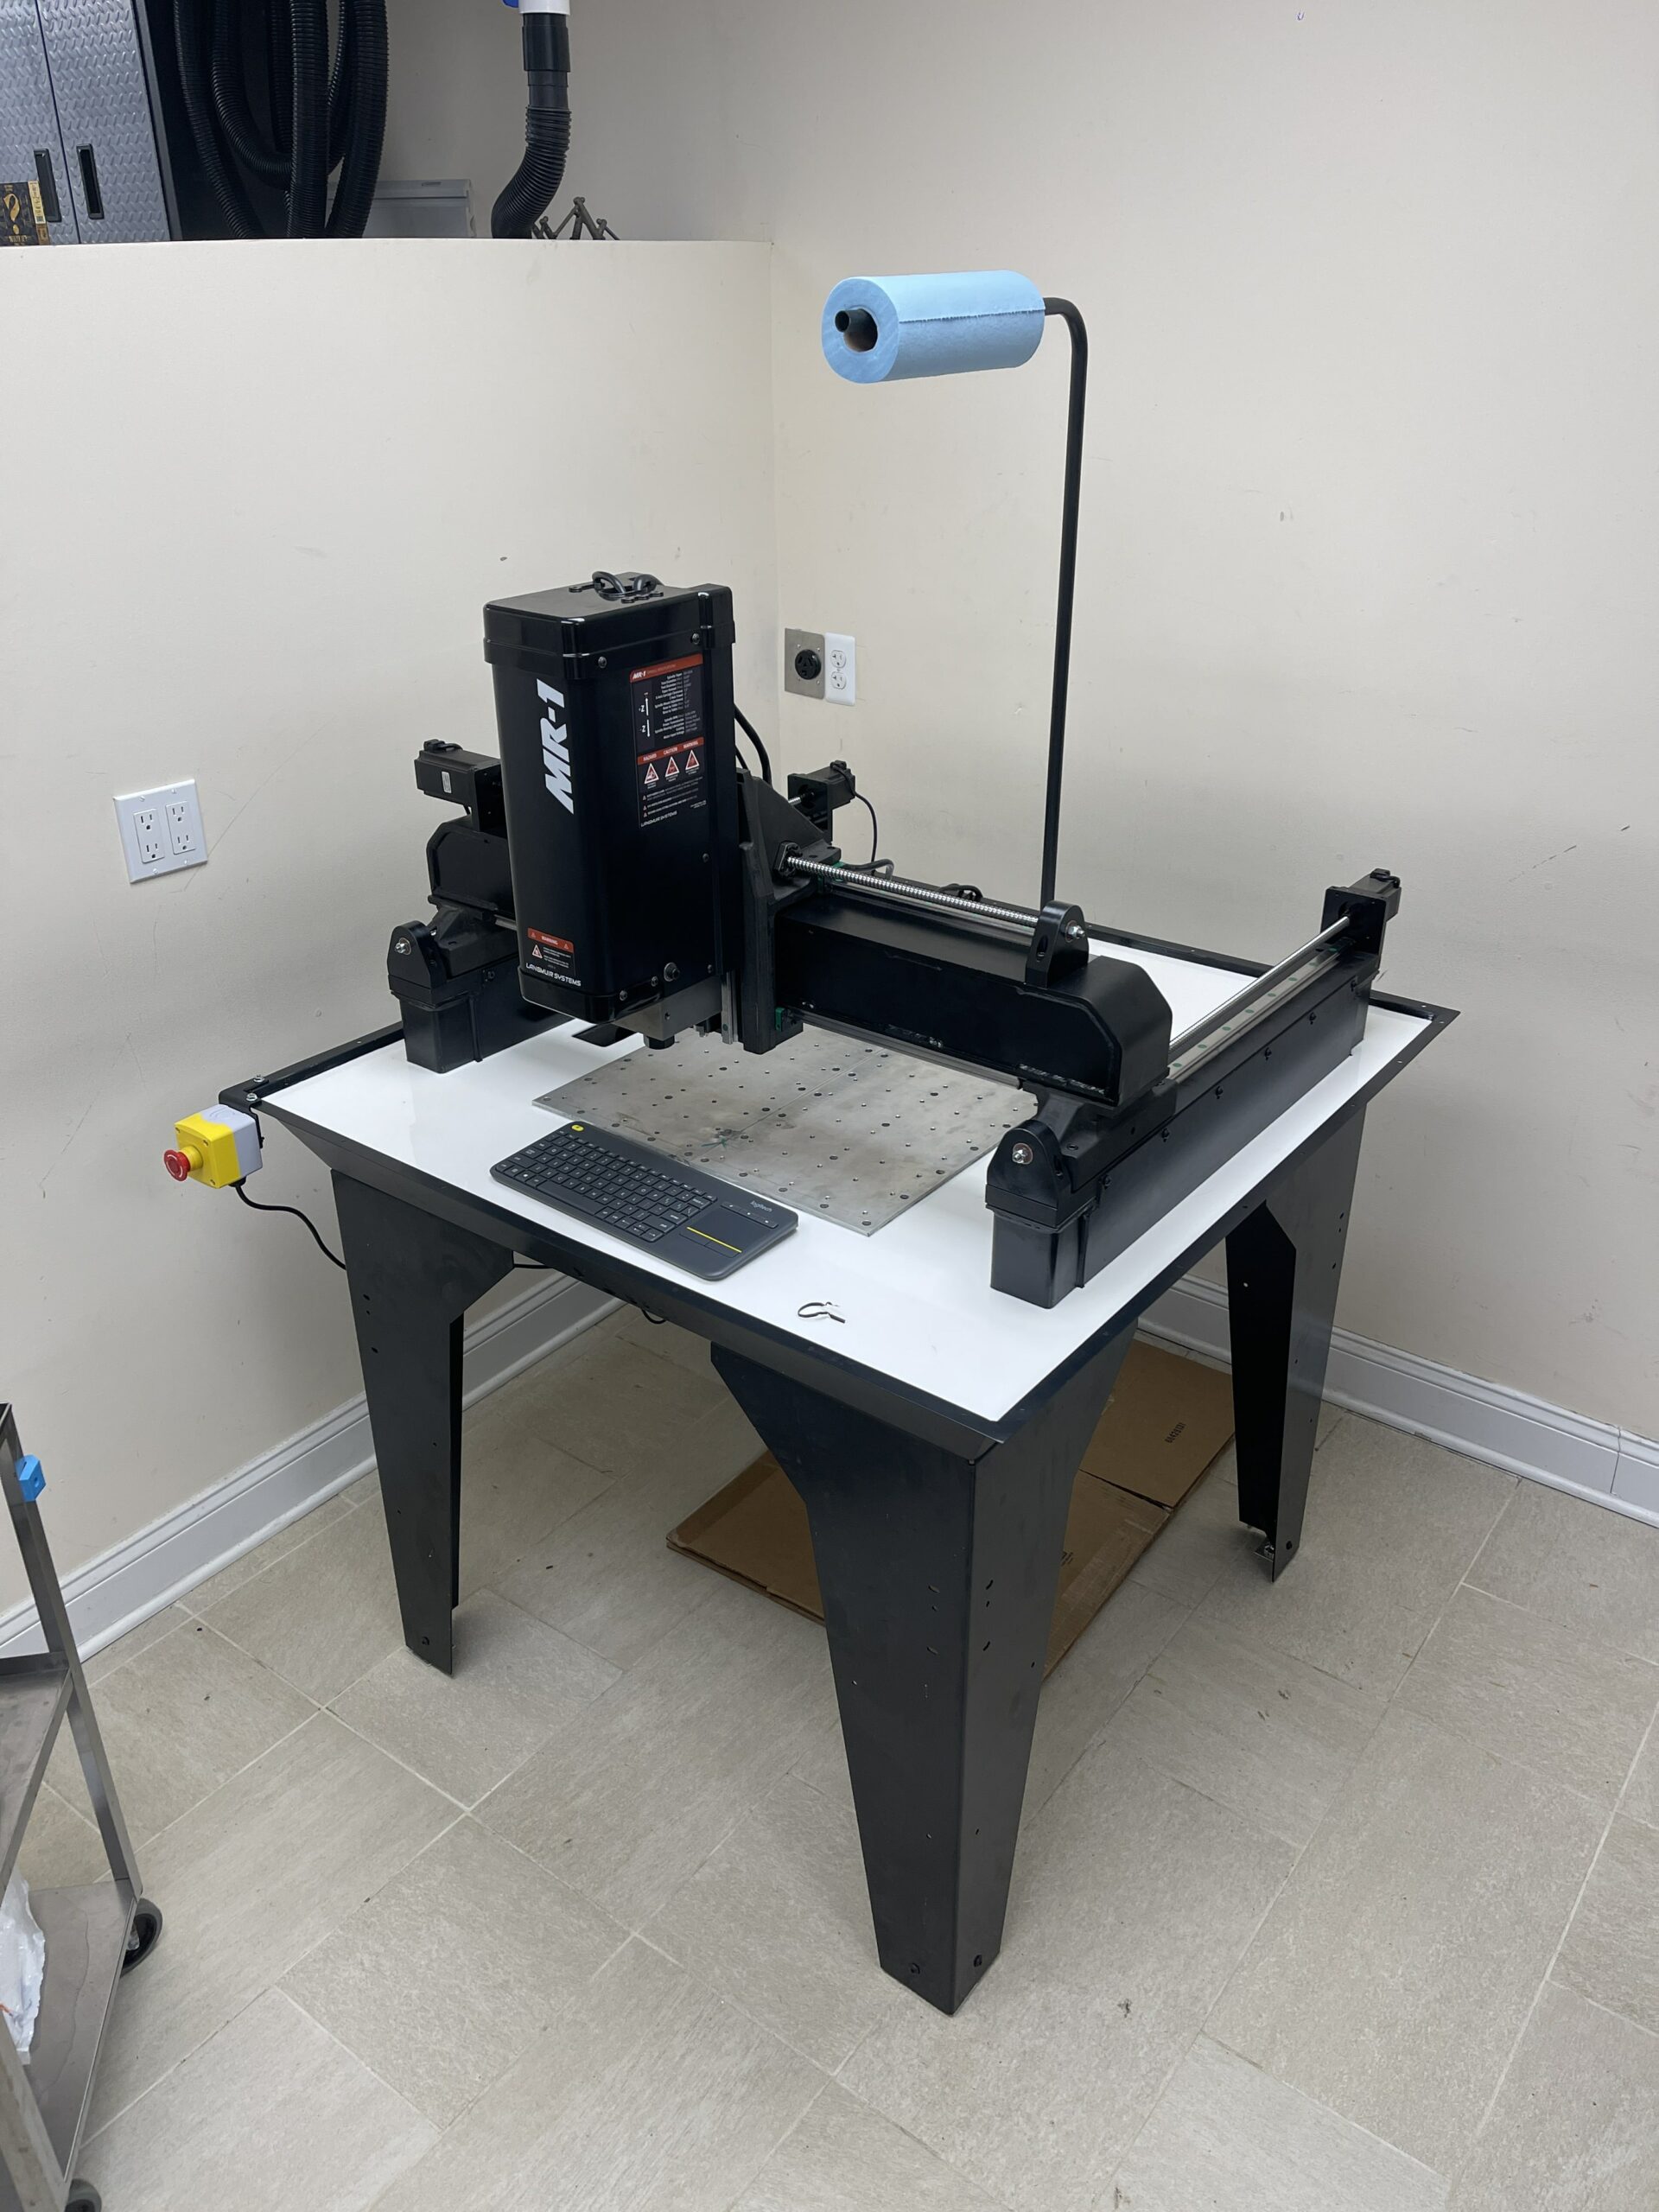
Setting up the X, Y, and Z axes involves assembling and aligning the linear rails, ball screws, and carriages to achieve smooth and accurate movement. The servo motors are installed and connected to the ball screws, providing precise and responsive movement for the X, Y, and Z axes. The spindle installation follows, where the spindle motor is securely mounted and aligned with the Z-axis for consistent cutting performance. Together, these steps establish the core motion and cutting capabilities of the MR-1.
Electronics
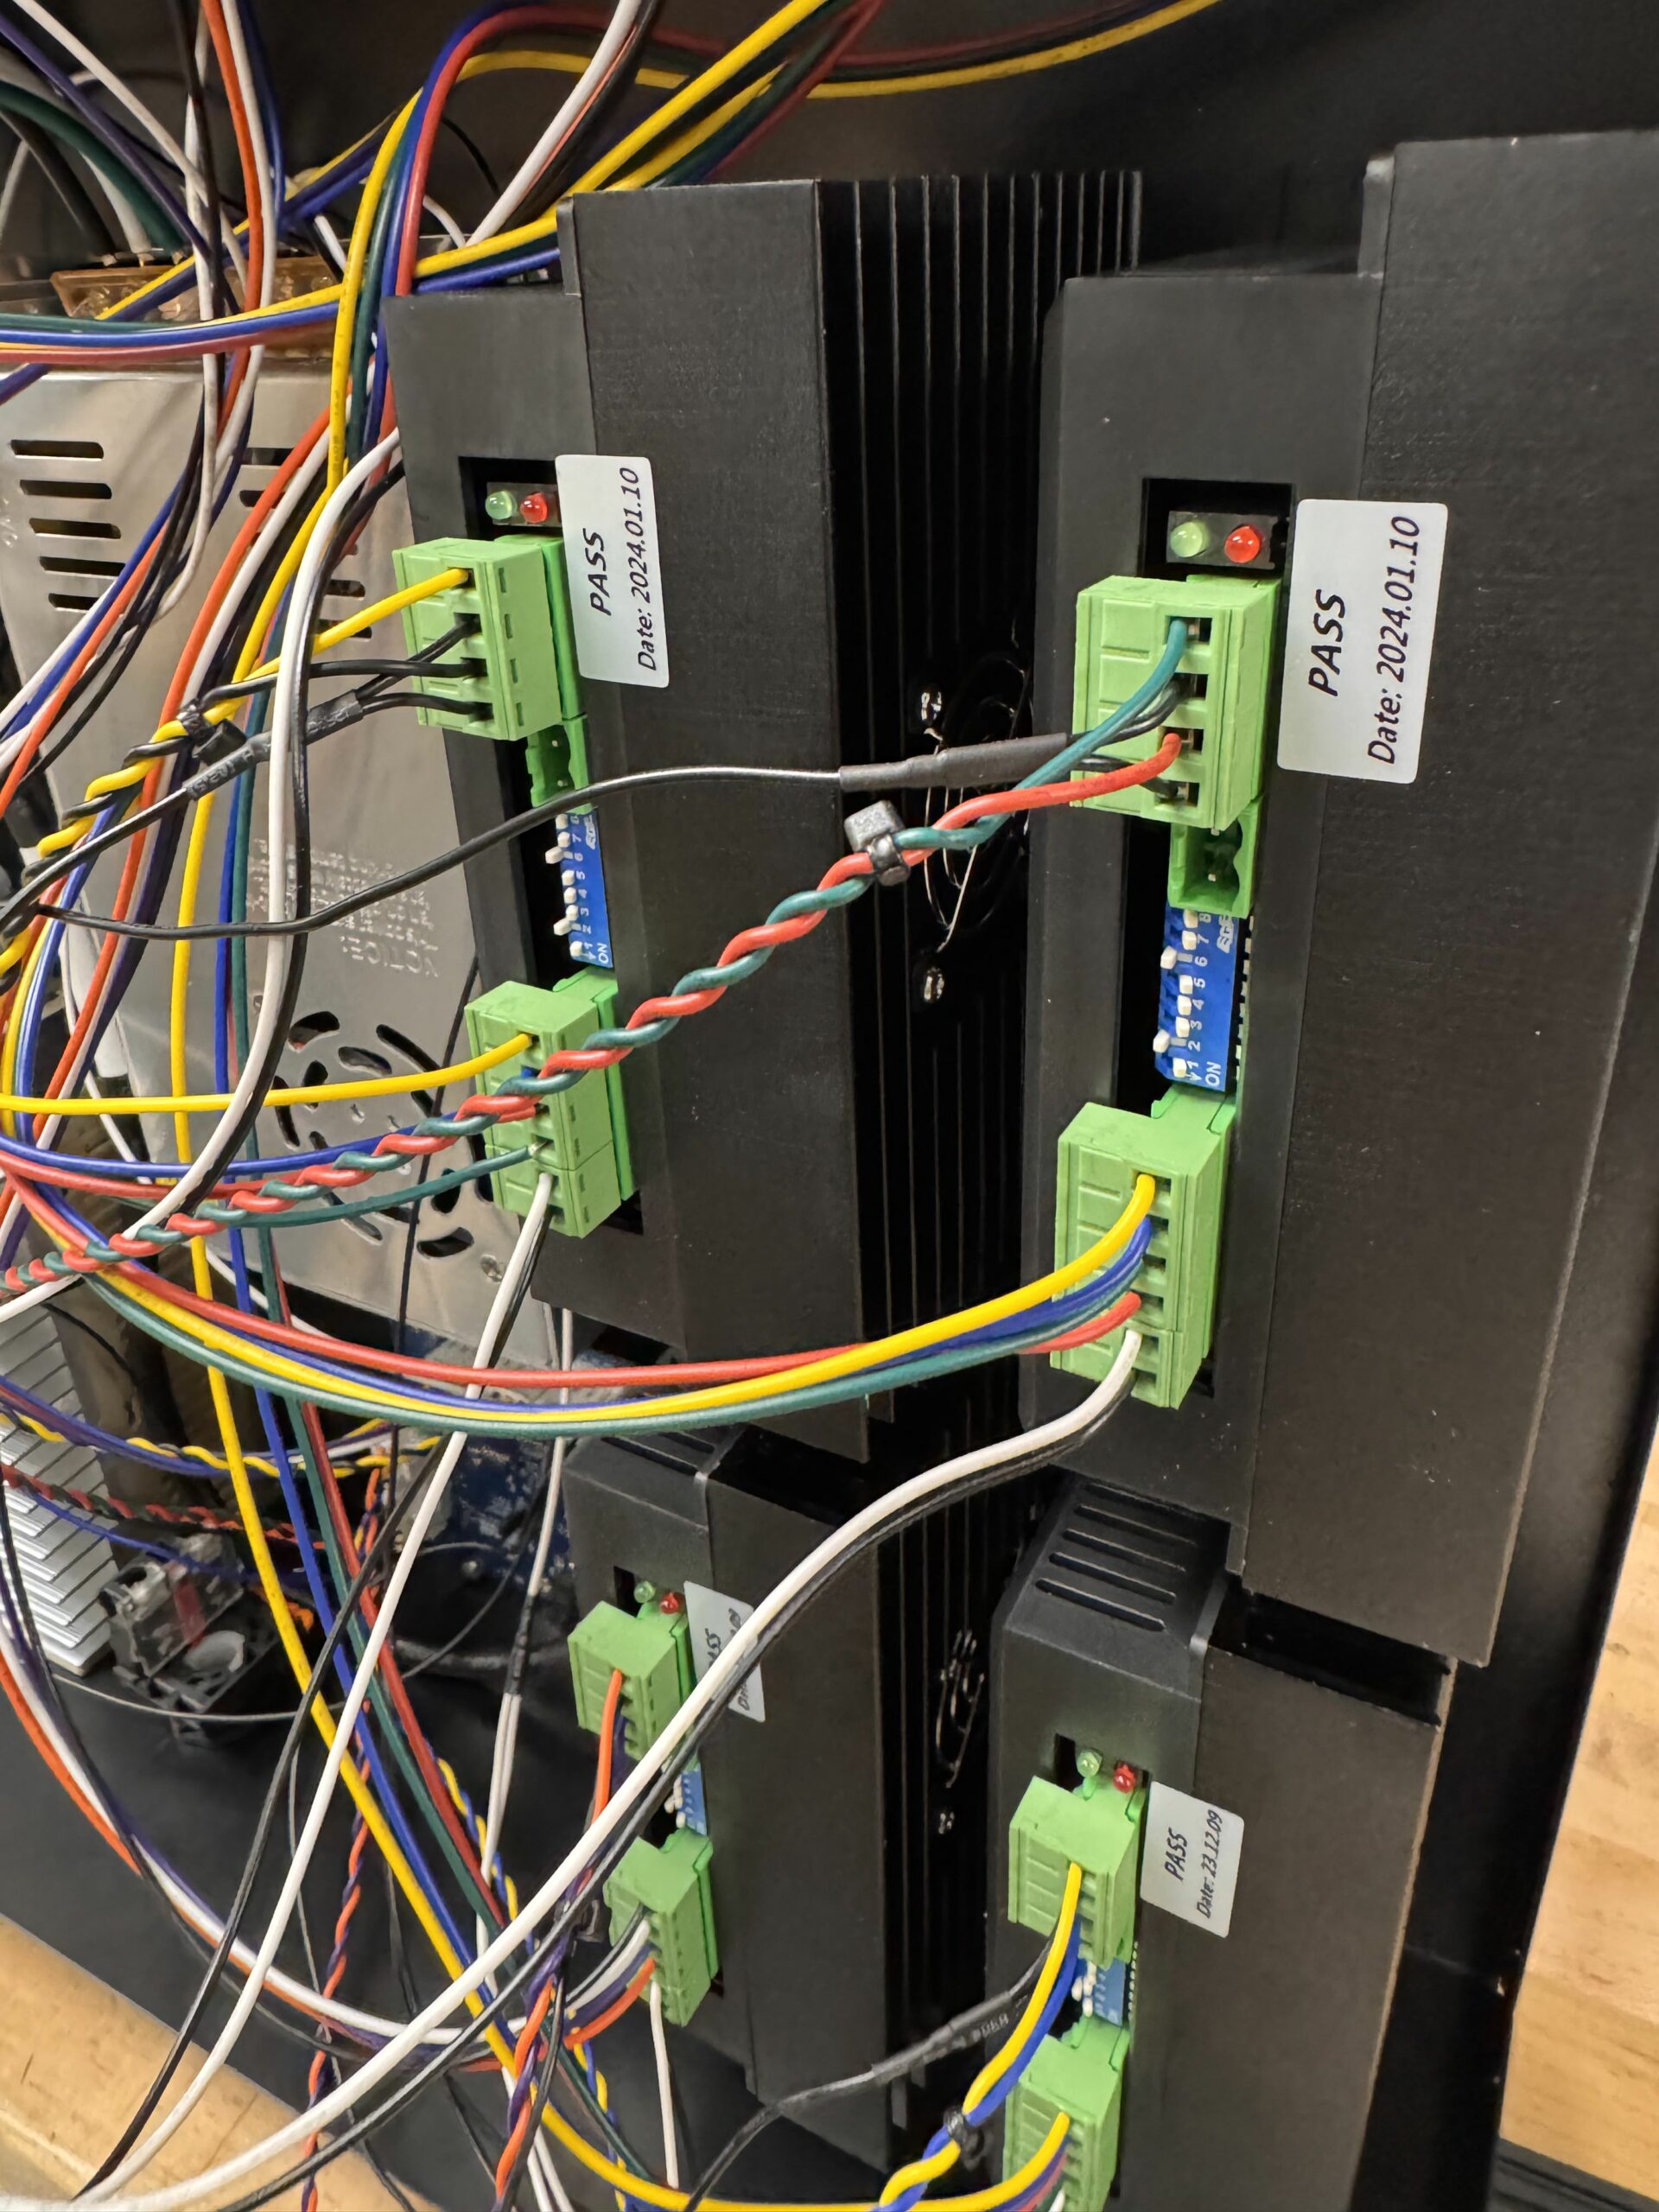
The electronics assembly includes wiring the stepper motors, limit switches, and spindle controller to the main electronics enclosure. To enhance performance, I upgraded the motor drivers to support higher torque from the stepper motors, enabling smoother operation and improved cutting capabilities for demanding tasks. This customization ensures reliable and powerful performance for a variety of machining applications.
Final Assembly
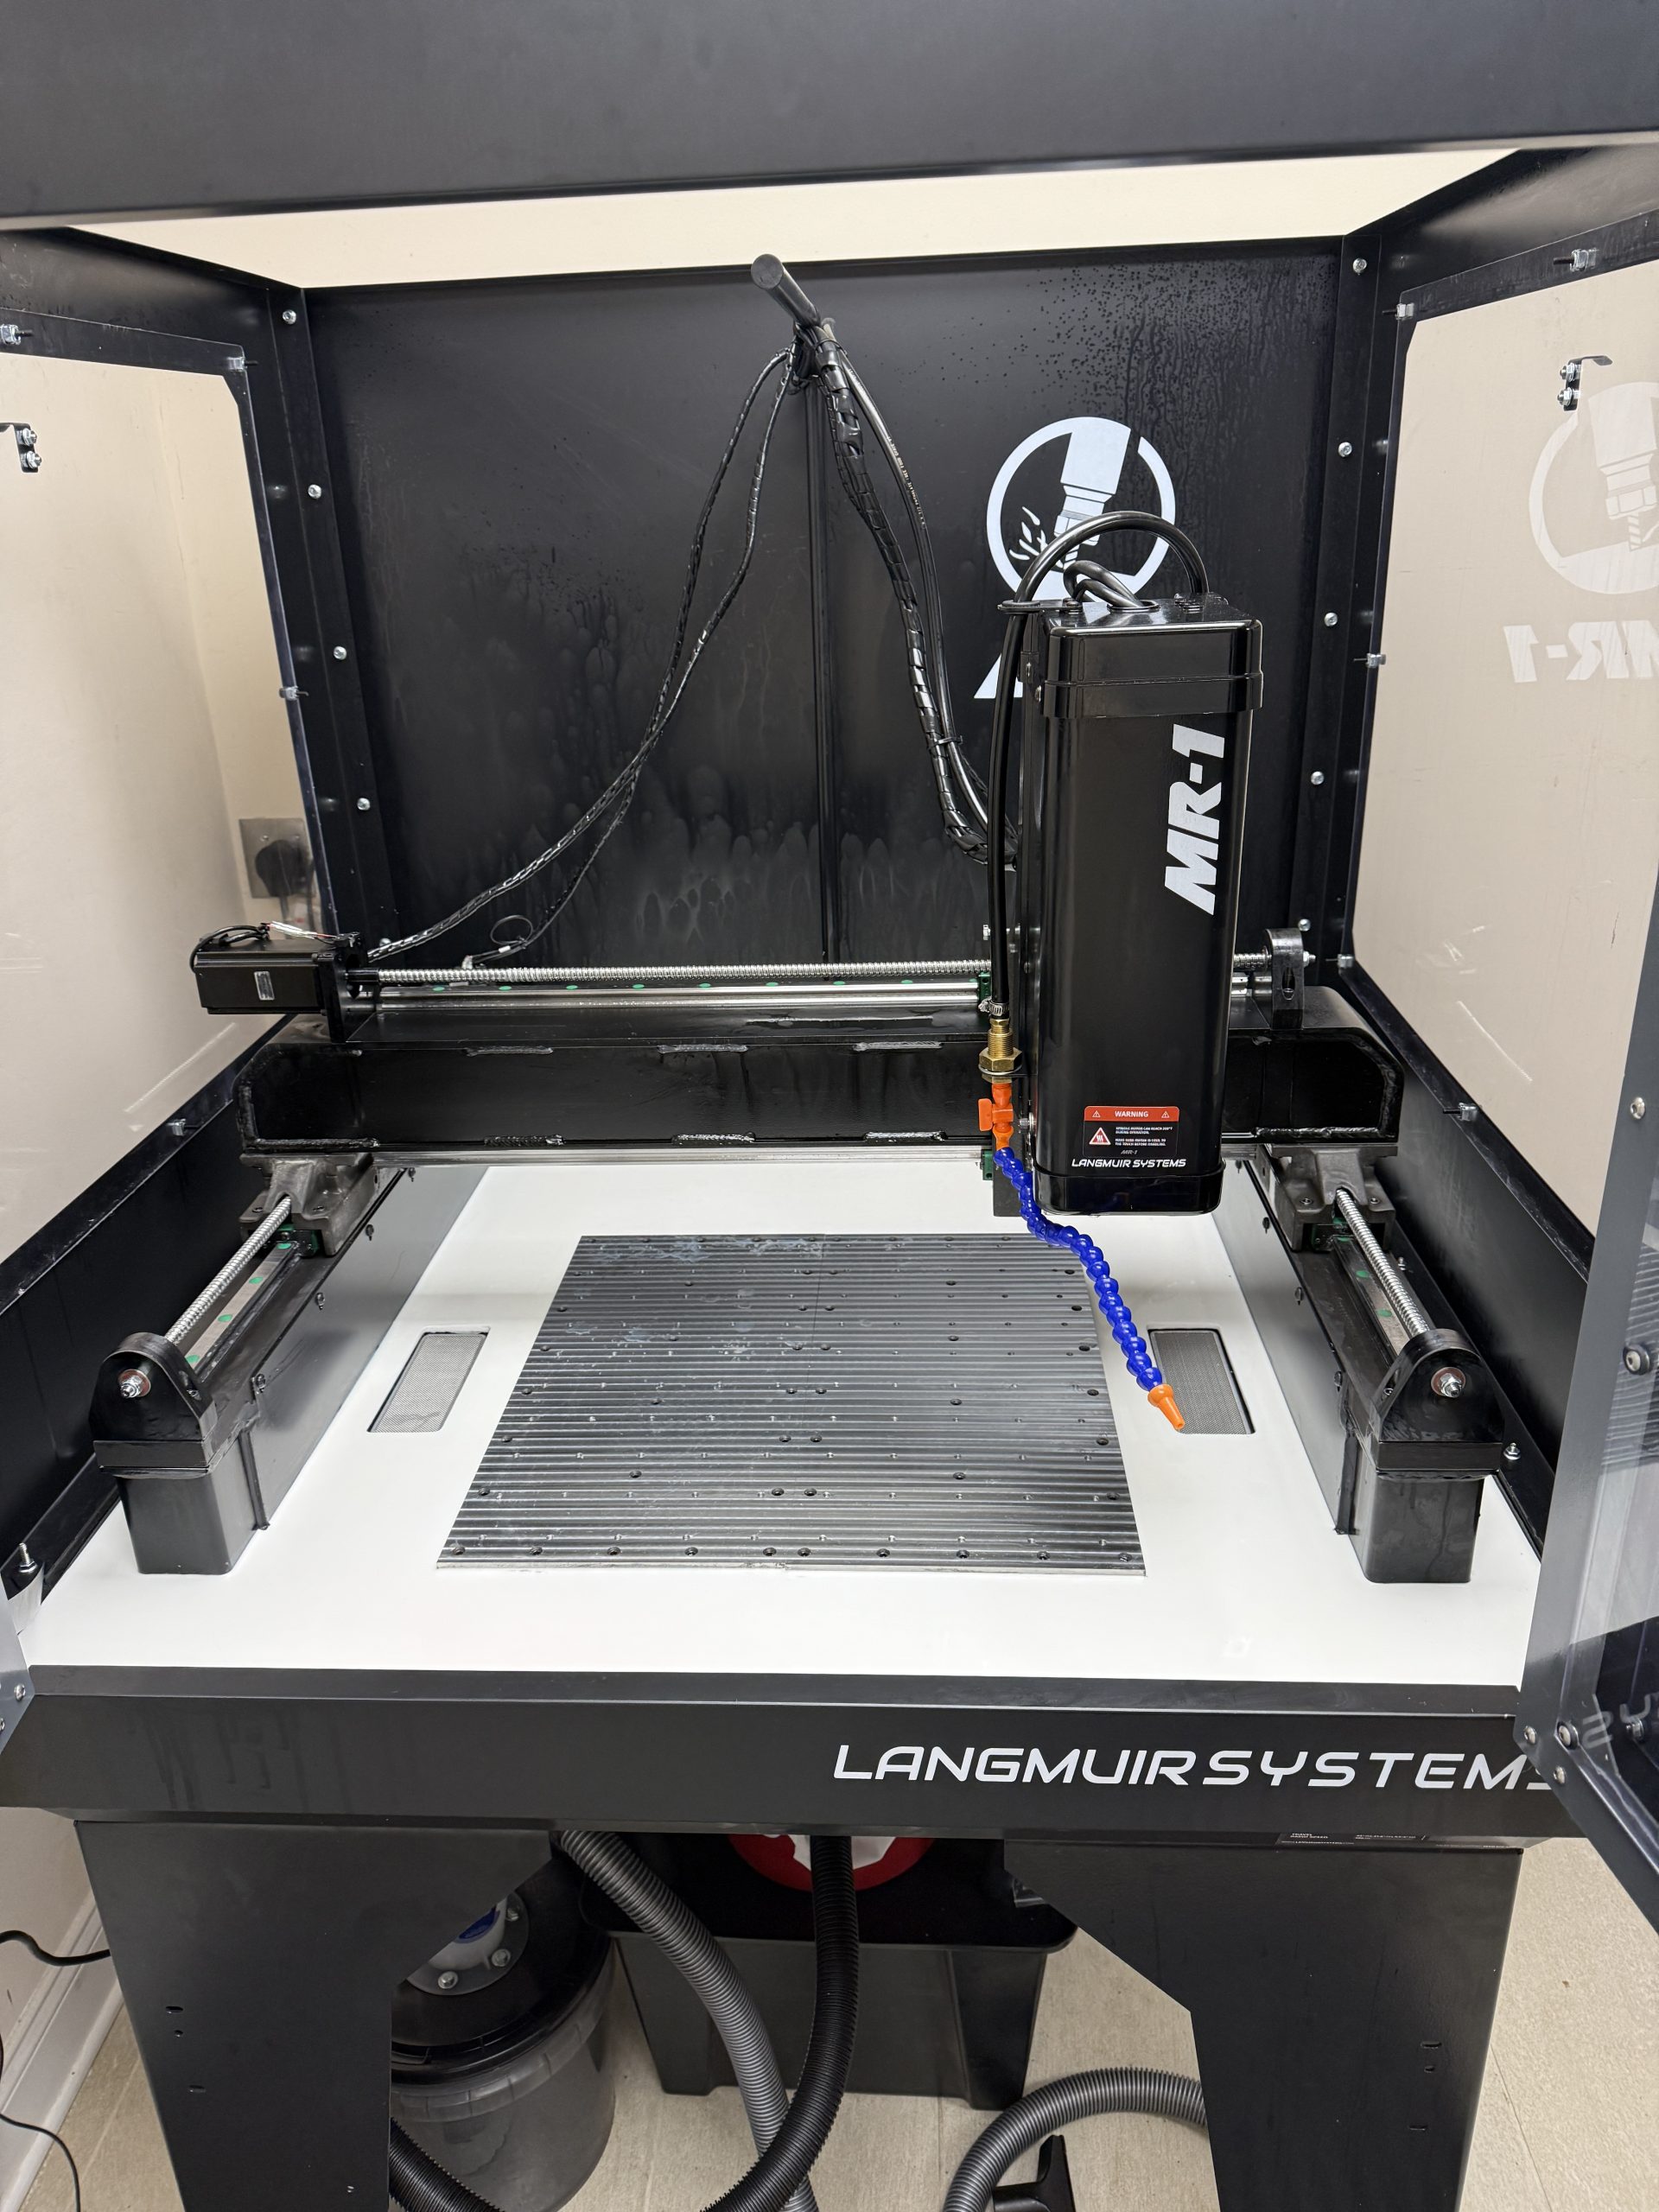
After a year of work, my friend and I finally completed the CNC machine. The final assembly required extensive tramming, calibration, and fine-tuning to ensure the machine operated within tight tolerances. We dedicated significant time to achieving precision and reliability in every component. Since completing the build, we’ve continued to modify and upgrade the system, aiming to further improve its accuracy, performance, and overall capability.
first cuts
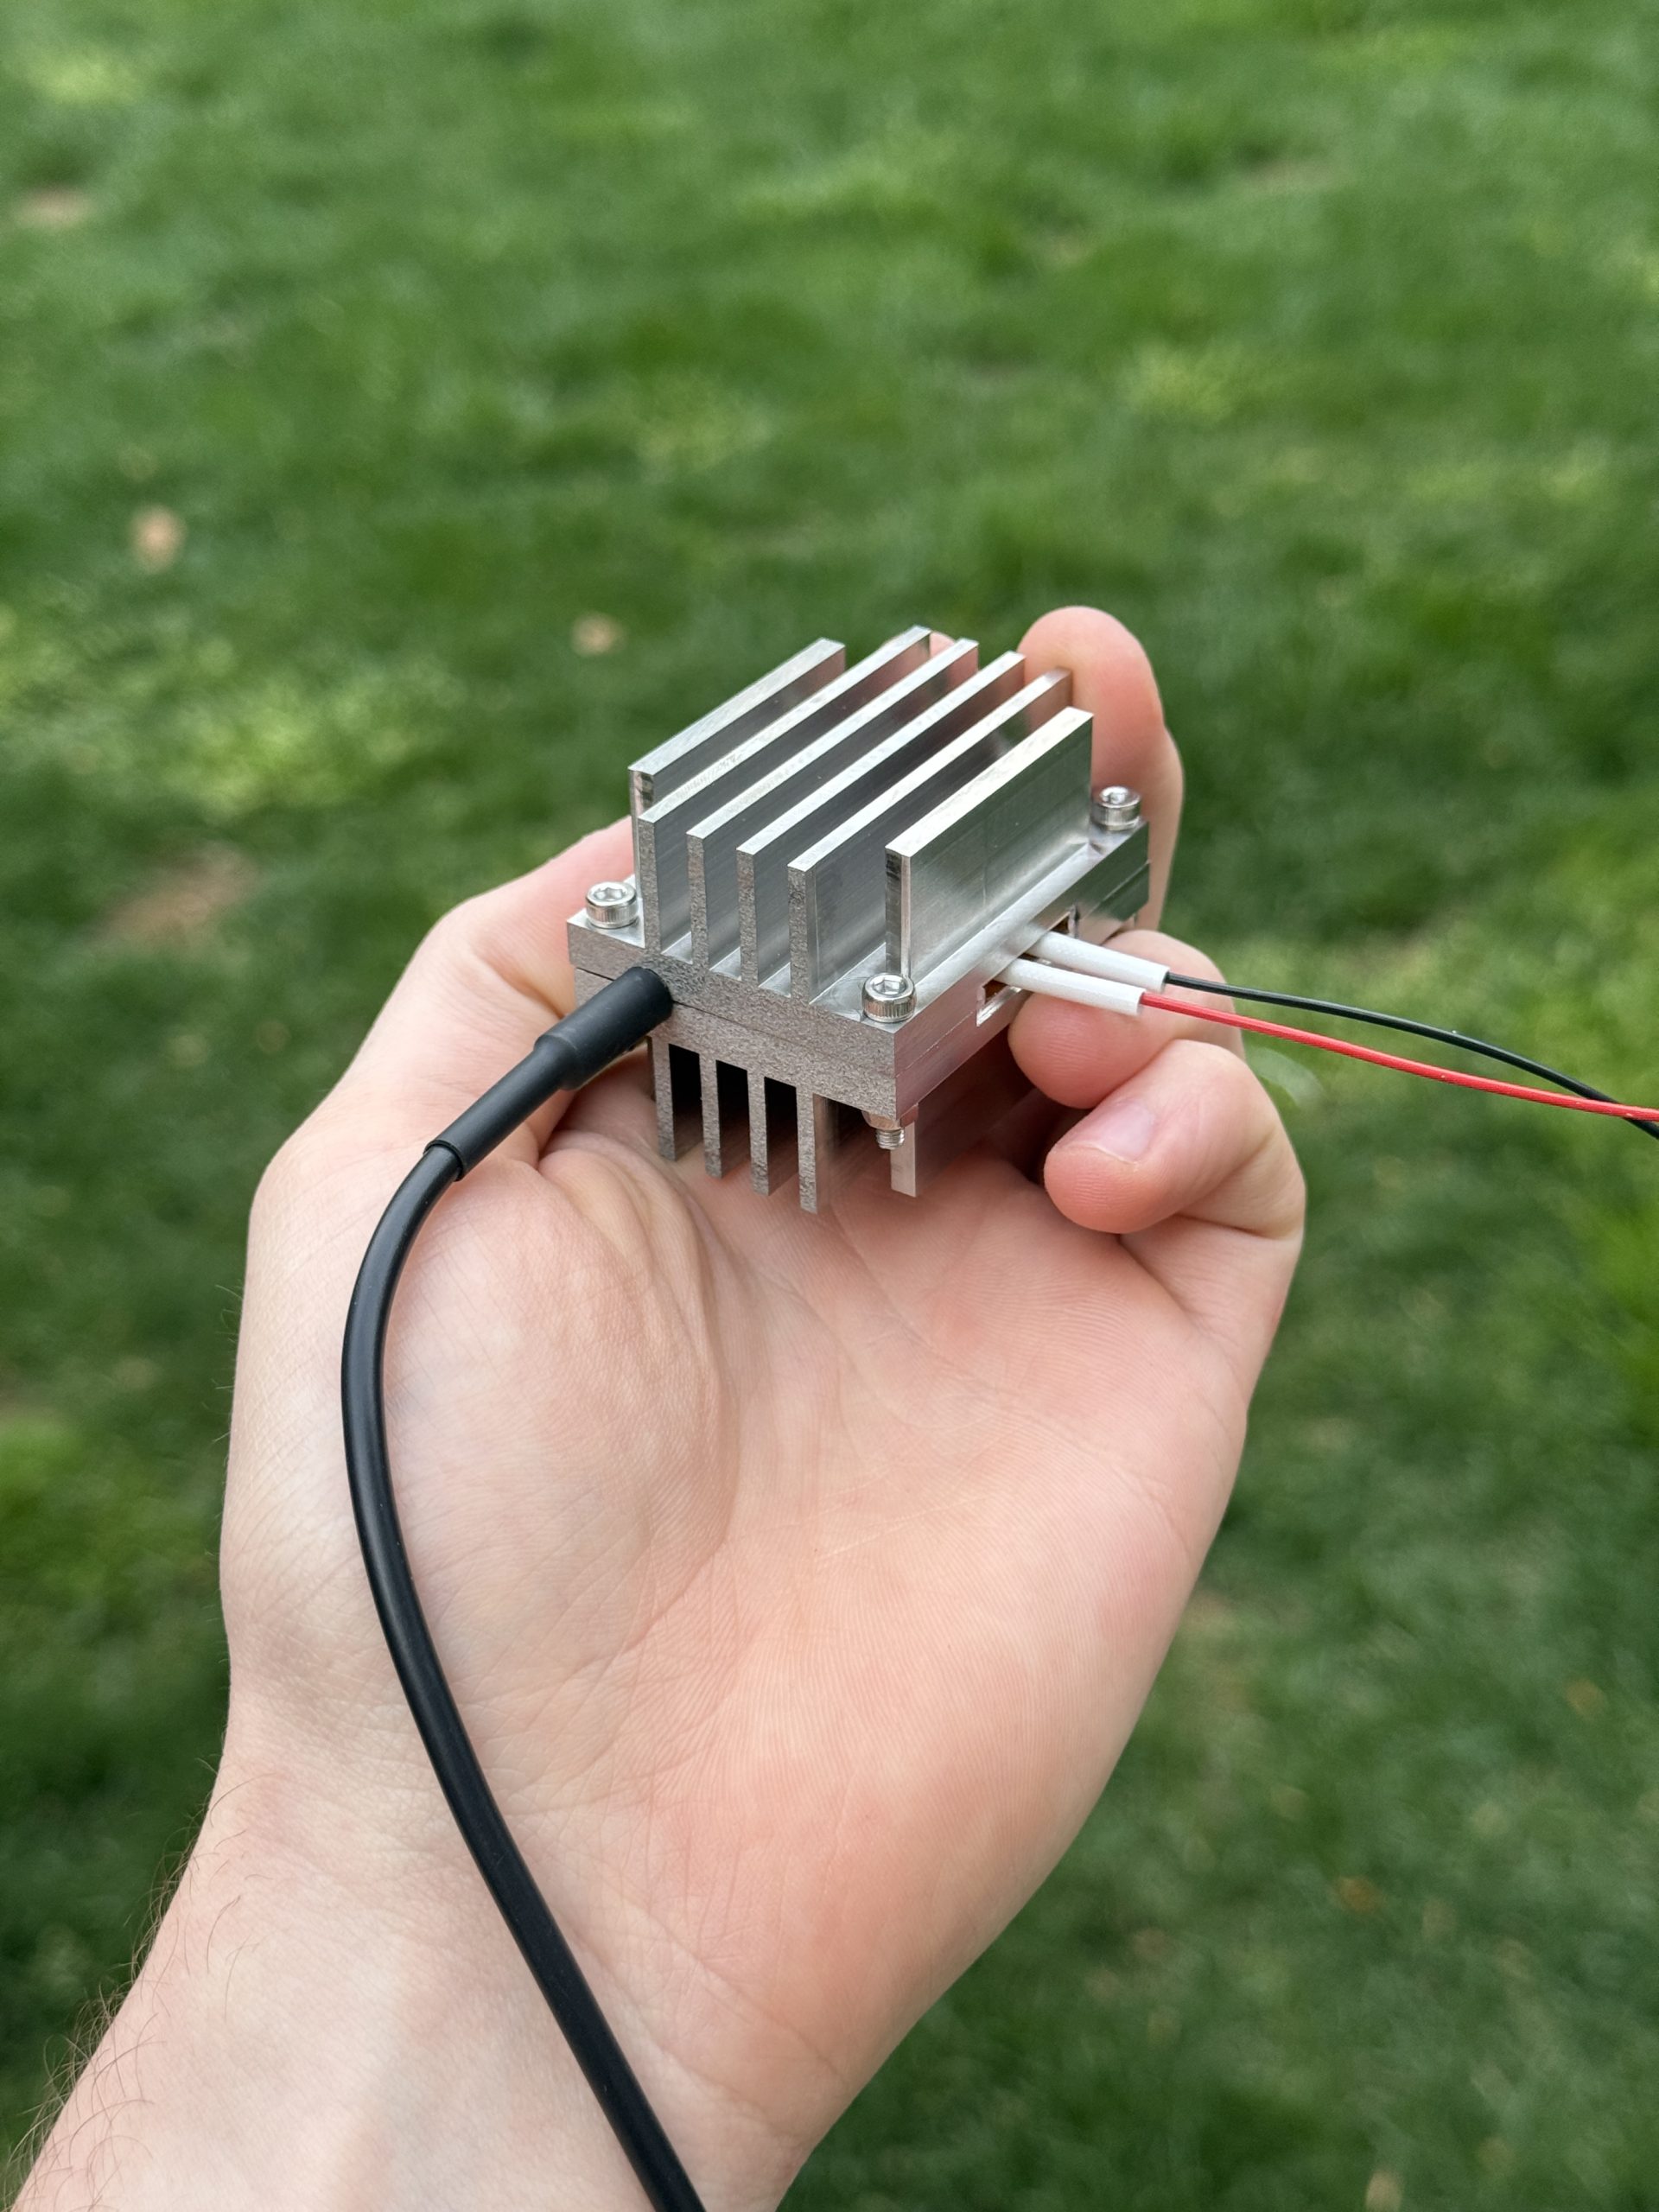
For the machine’s first cut, I designed and fabricated a custom heating element from 316 stainless steel for a school project focused on a respiratory device. The heating element’s purpose was to warm and humidify air by heating the fog produced from an ultrasonic humidifier, effectively converting it into a smooth flow of warm, breathable air. Despite stainless steel being a difficult material to machine, the CNC mill handled it perfectly—the part was successfully cut on the first attempt, producing a clean and precise result that showcased the machine’s accuracy and performance.