Fiberglass Longboard
This was a solo project I completed in high school, during a time when I was especially interested in woodworking. I wanted to explore working with new materials, particularly fiberglass, and combine it with my love for longboarding. To challenge myself, I decided to design and build a wood–fiberglass composite longboard from scratch, experimenting with fiberglass to create a board that was both stronger and more flexible than a standard wooden one.
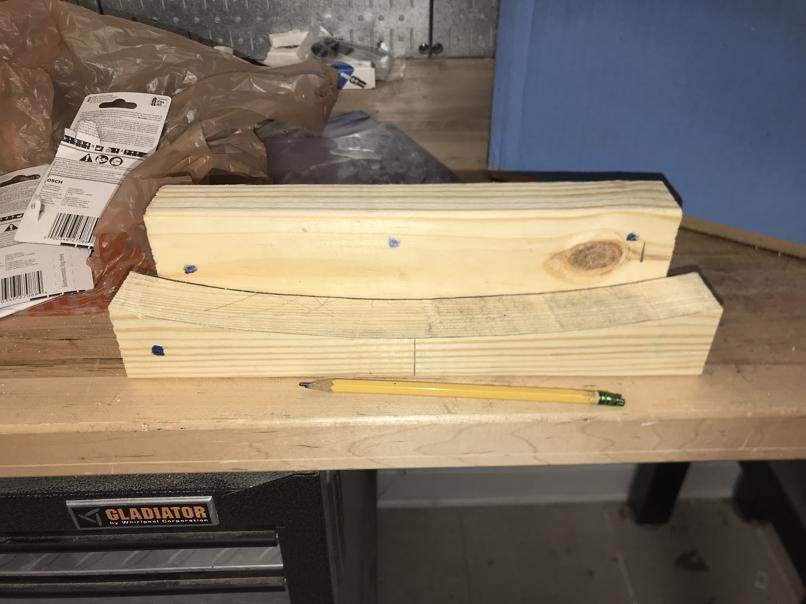
Wood Template
At the start of the build process, my group of friends and I were thinking about how we can create a concave shape. We came up with a concave wood template. We would have one pre-cut block to trace with to make sure the seams were consistent. All of these pieces of wood were nailed and glued together to create a mold that we could use later to compress the layers of wood and fiberglass to create a concave shape.
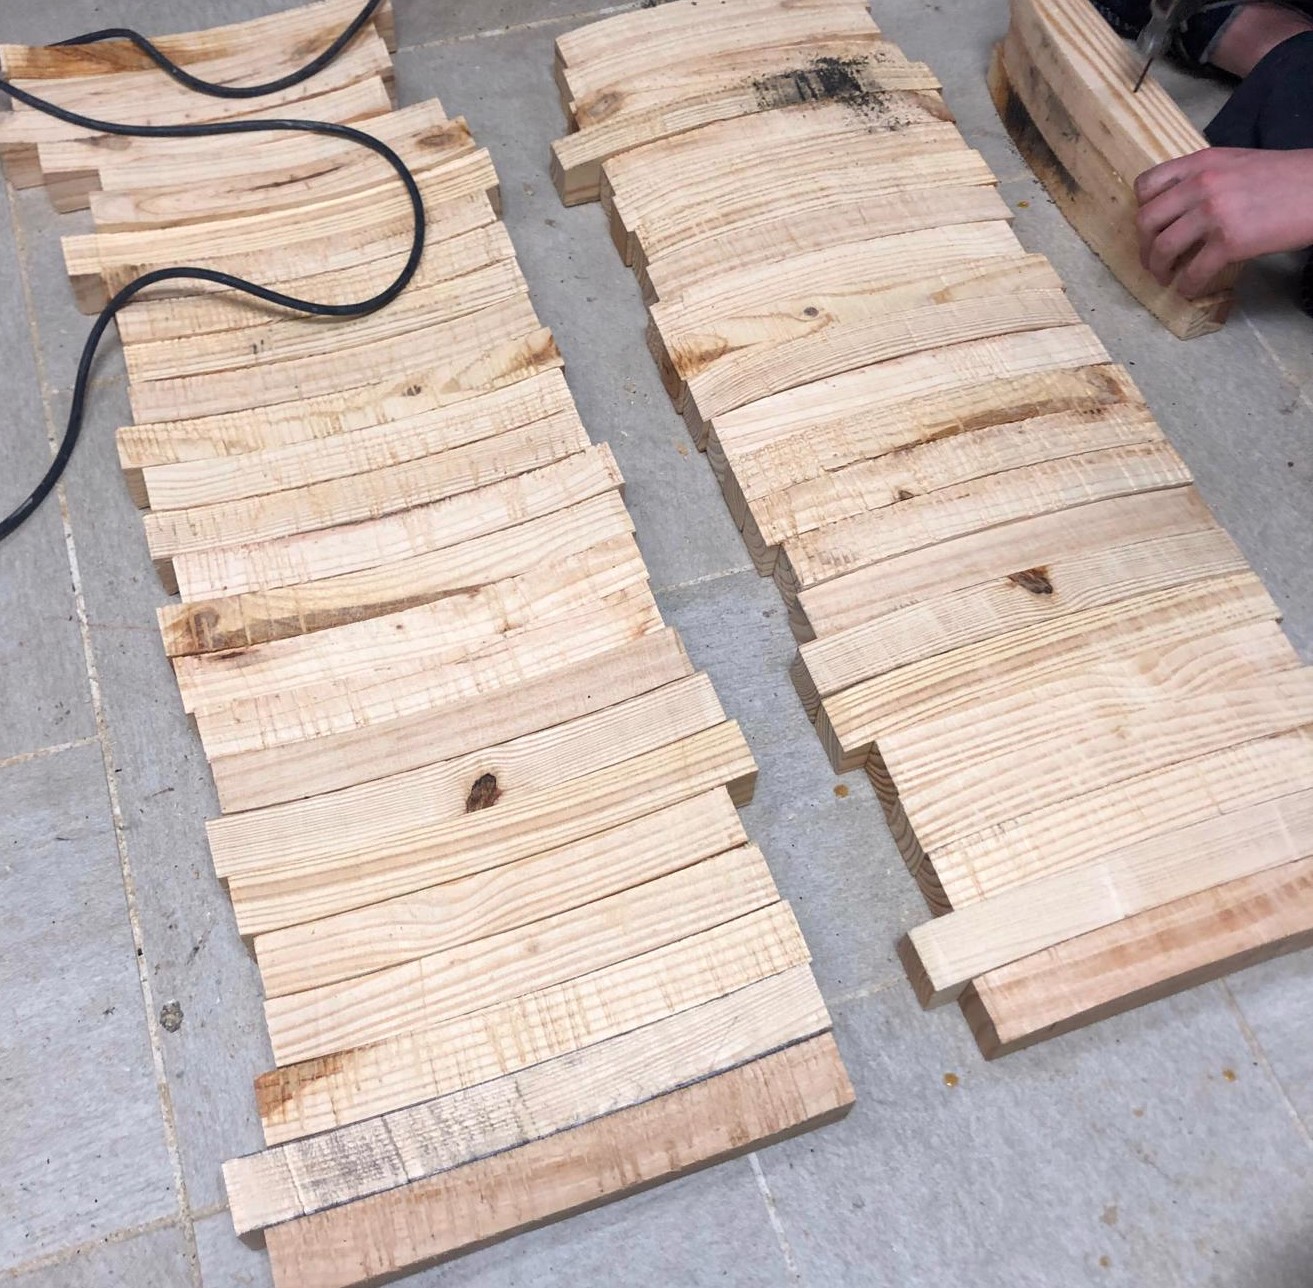
Cut The Wood then Chisel Chisel And More Chisel
After all of the pieces of wood were cut to shape, we began to match them together as best we could (this was because we cut the wood by hand and it wasn't perfect). A makerspace would have helped. After gluing the mold together, we began to notice imperfections. To fix the uneven shape, we started to chisel away at the mold to make it as smooth as possible.
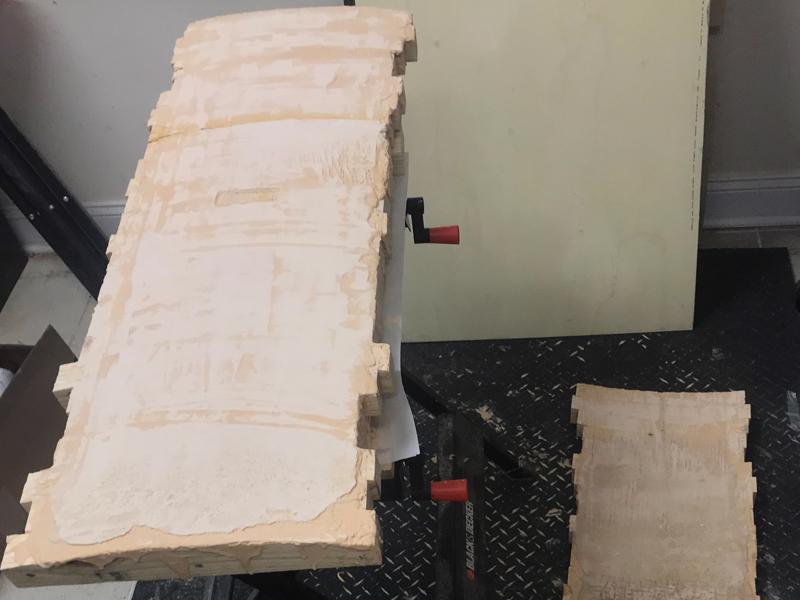
Wood Filler and sanding
The chiseling got rid of all the major imperfections, but there were still some small bumps in the wood. To fix that, we used wood filler and put a layer of it over the mold, shaping it to match the curvature. We sanded the mold to make it smooth. The mold was complete.
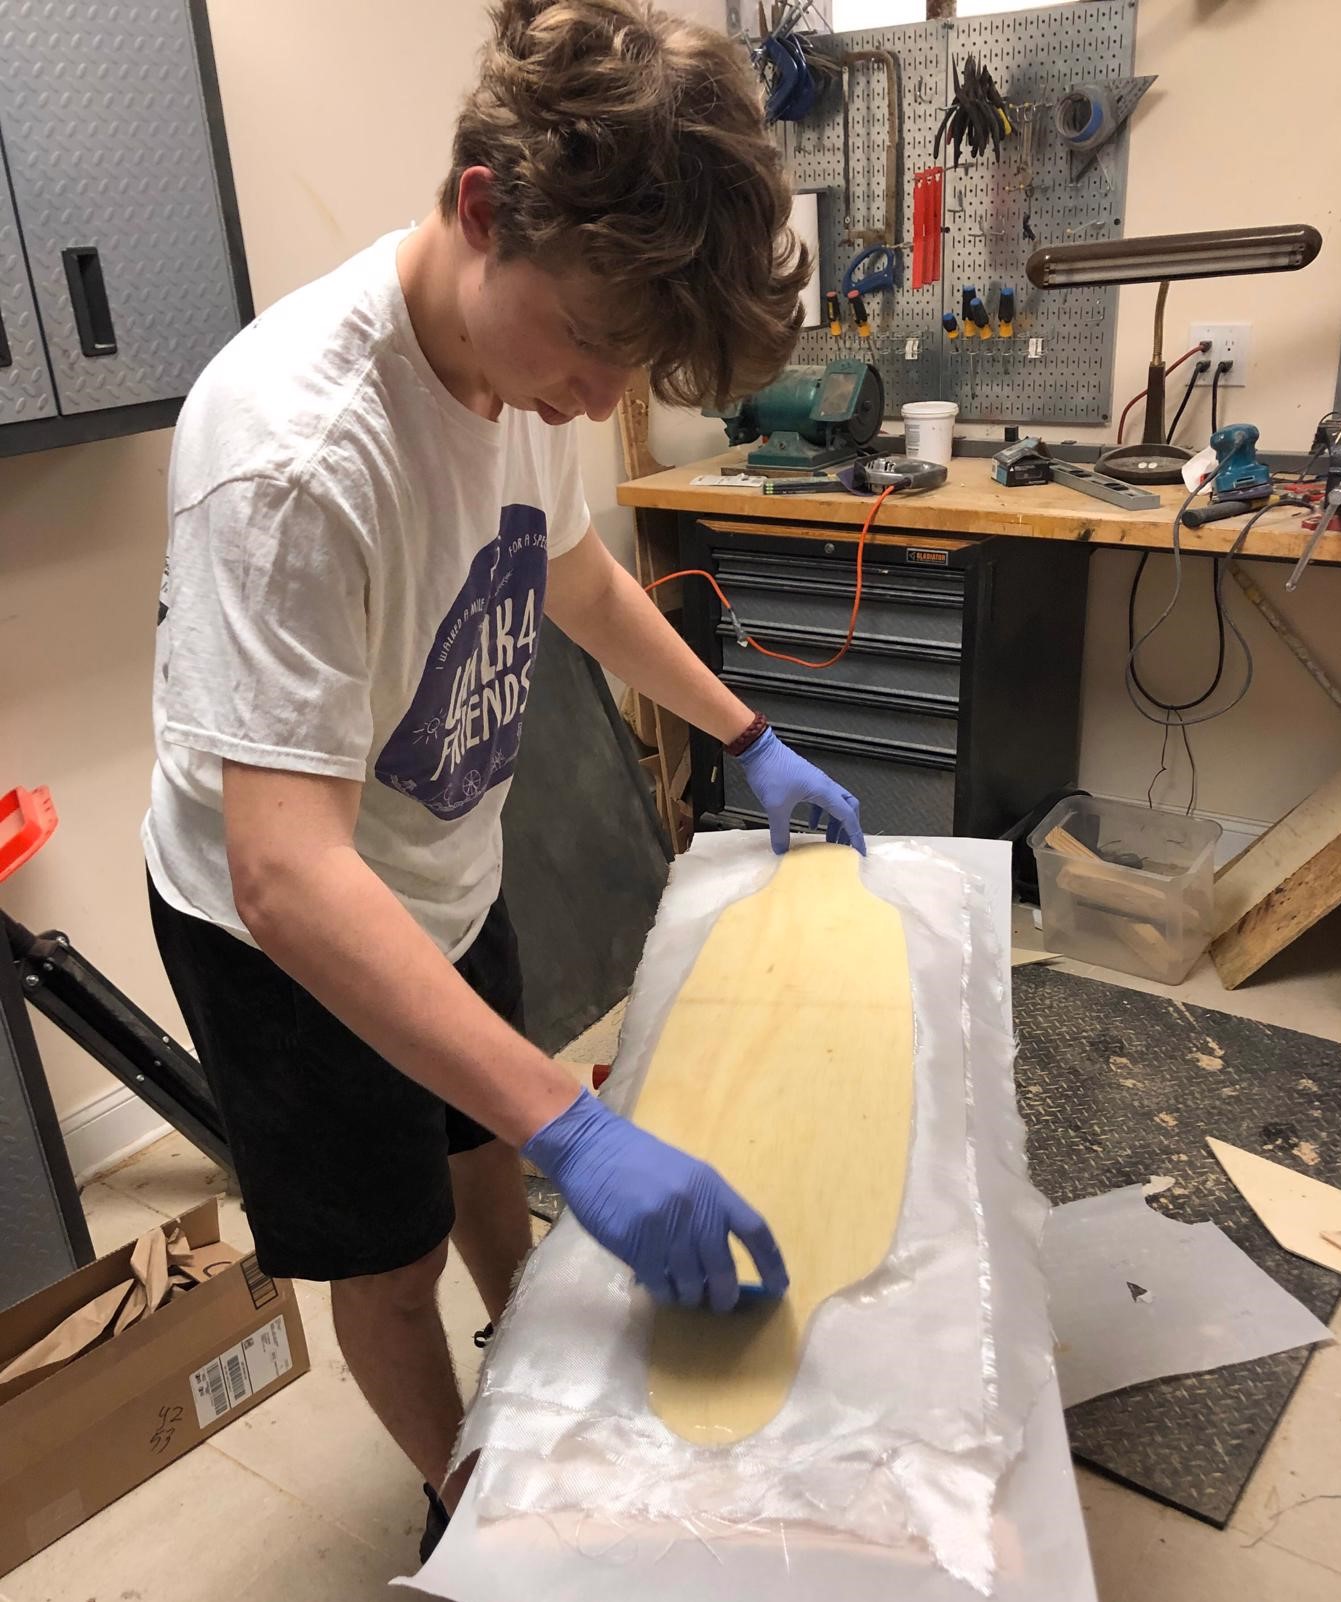
Combining The layers
None of us knew how to work with fiberglass, so we got a roll of fiberglass, and we played around with it. We made multiple samples to see what works best.
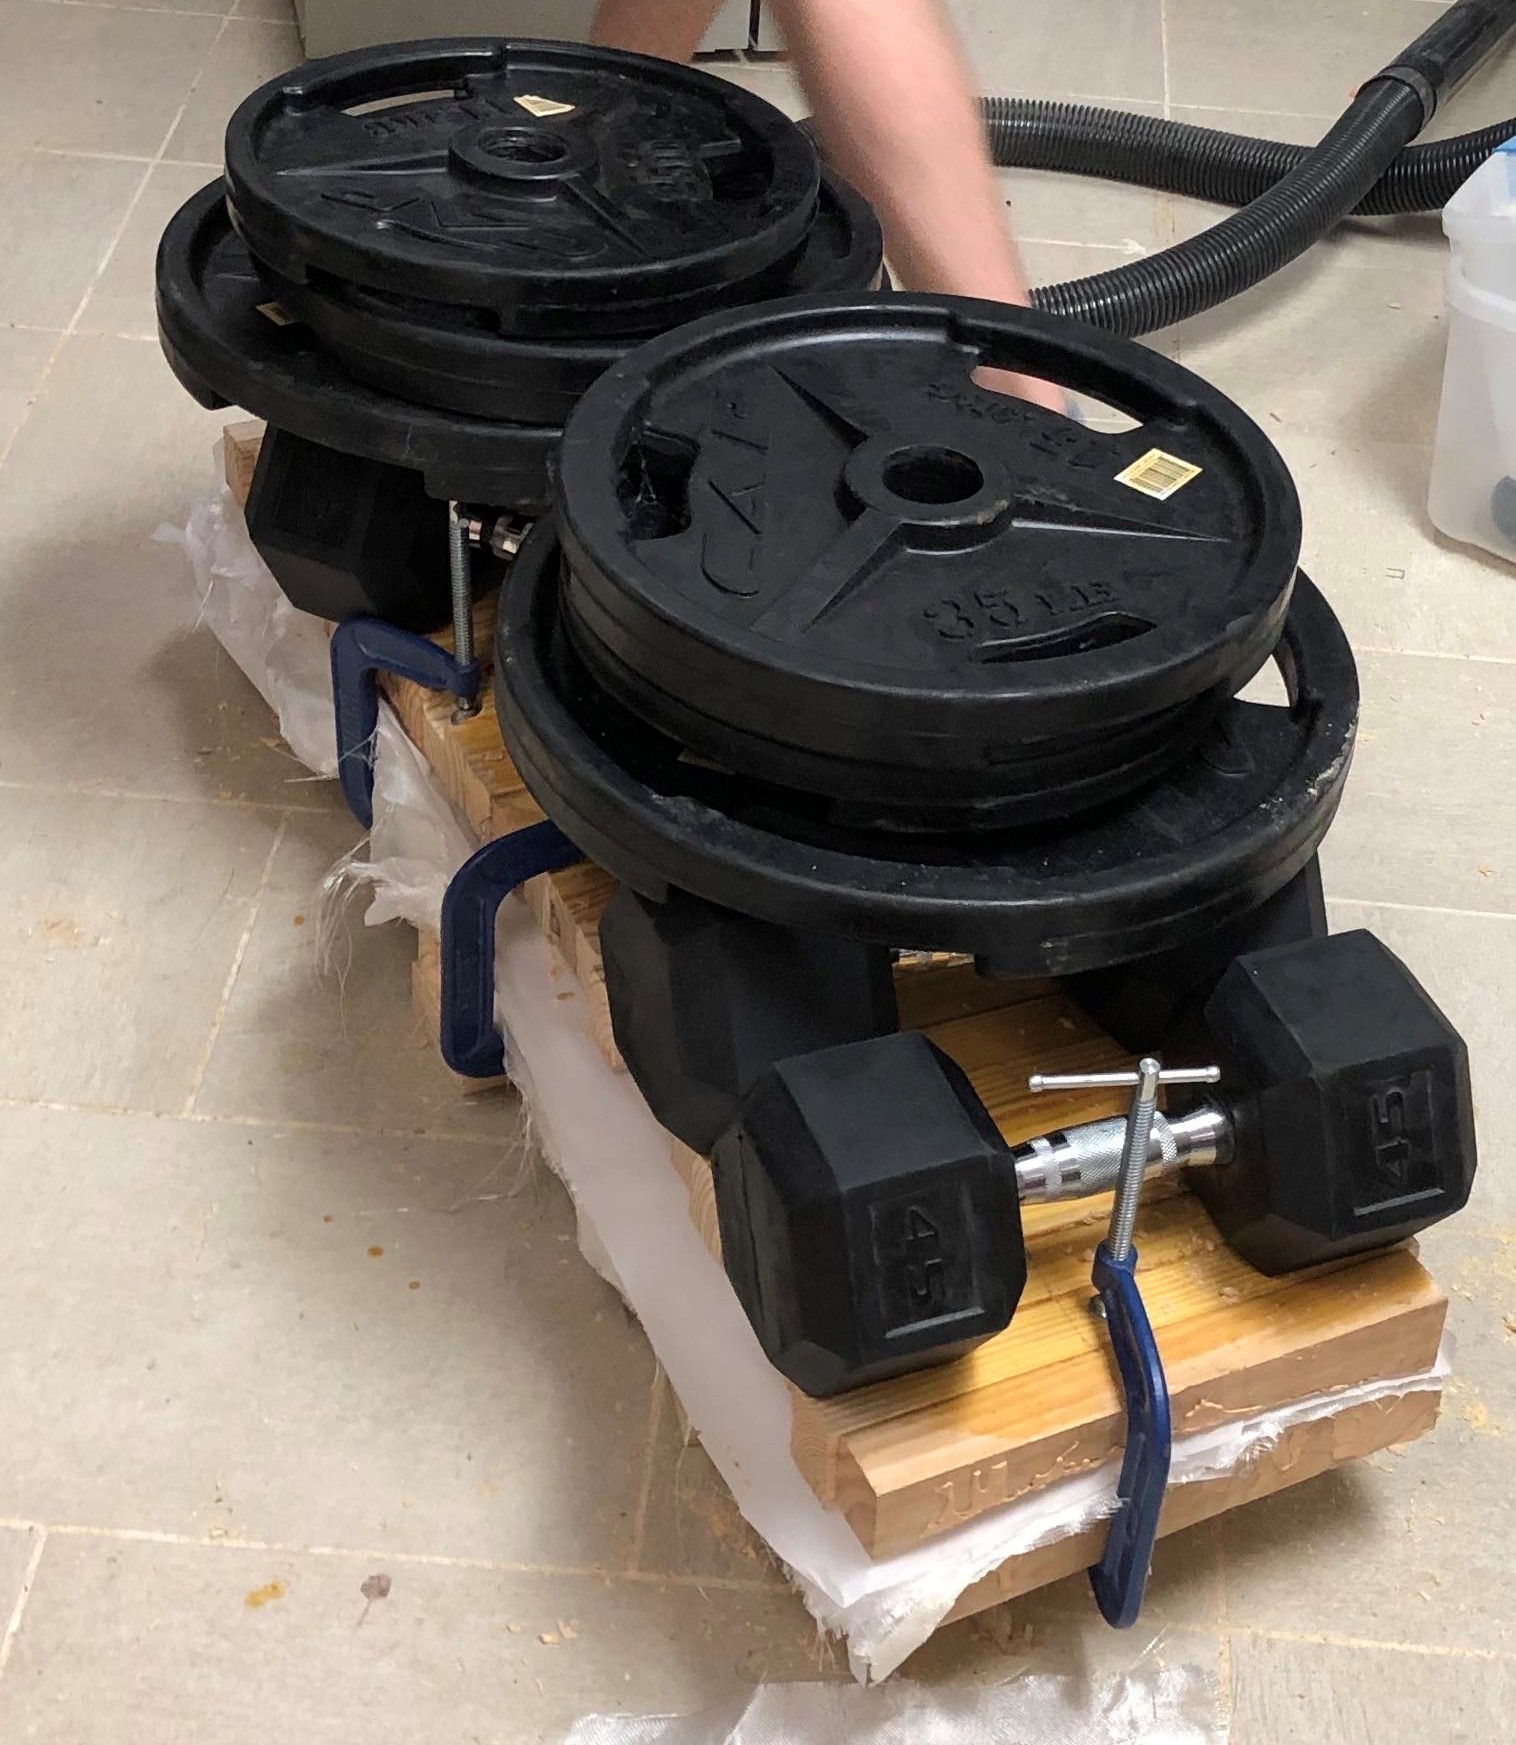
Clamping The Mold And Drying
Once all the layers were combined, we waited for the glue to dry.
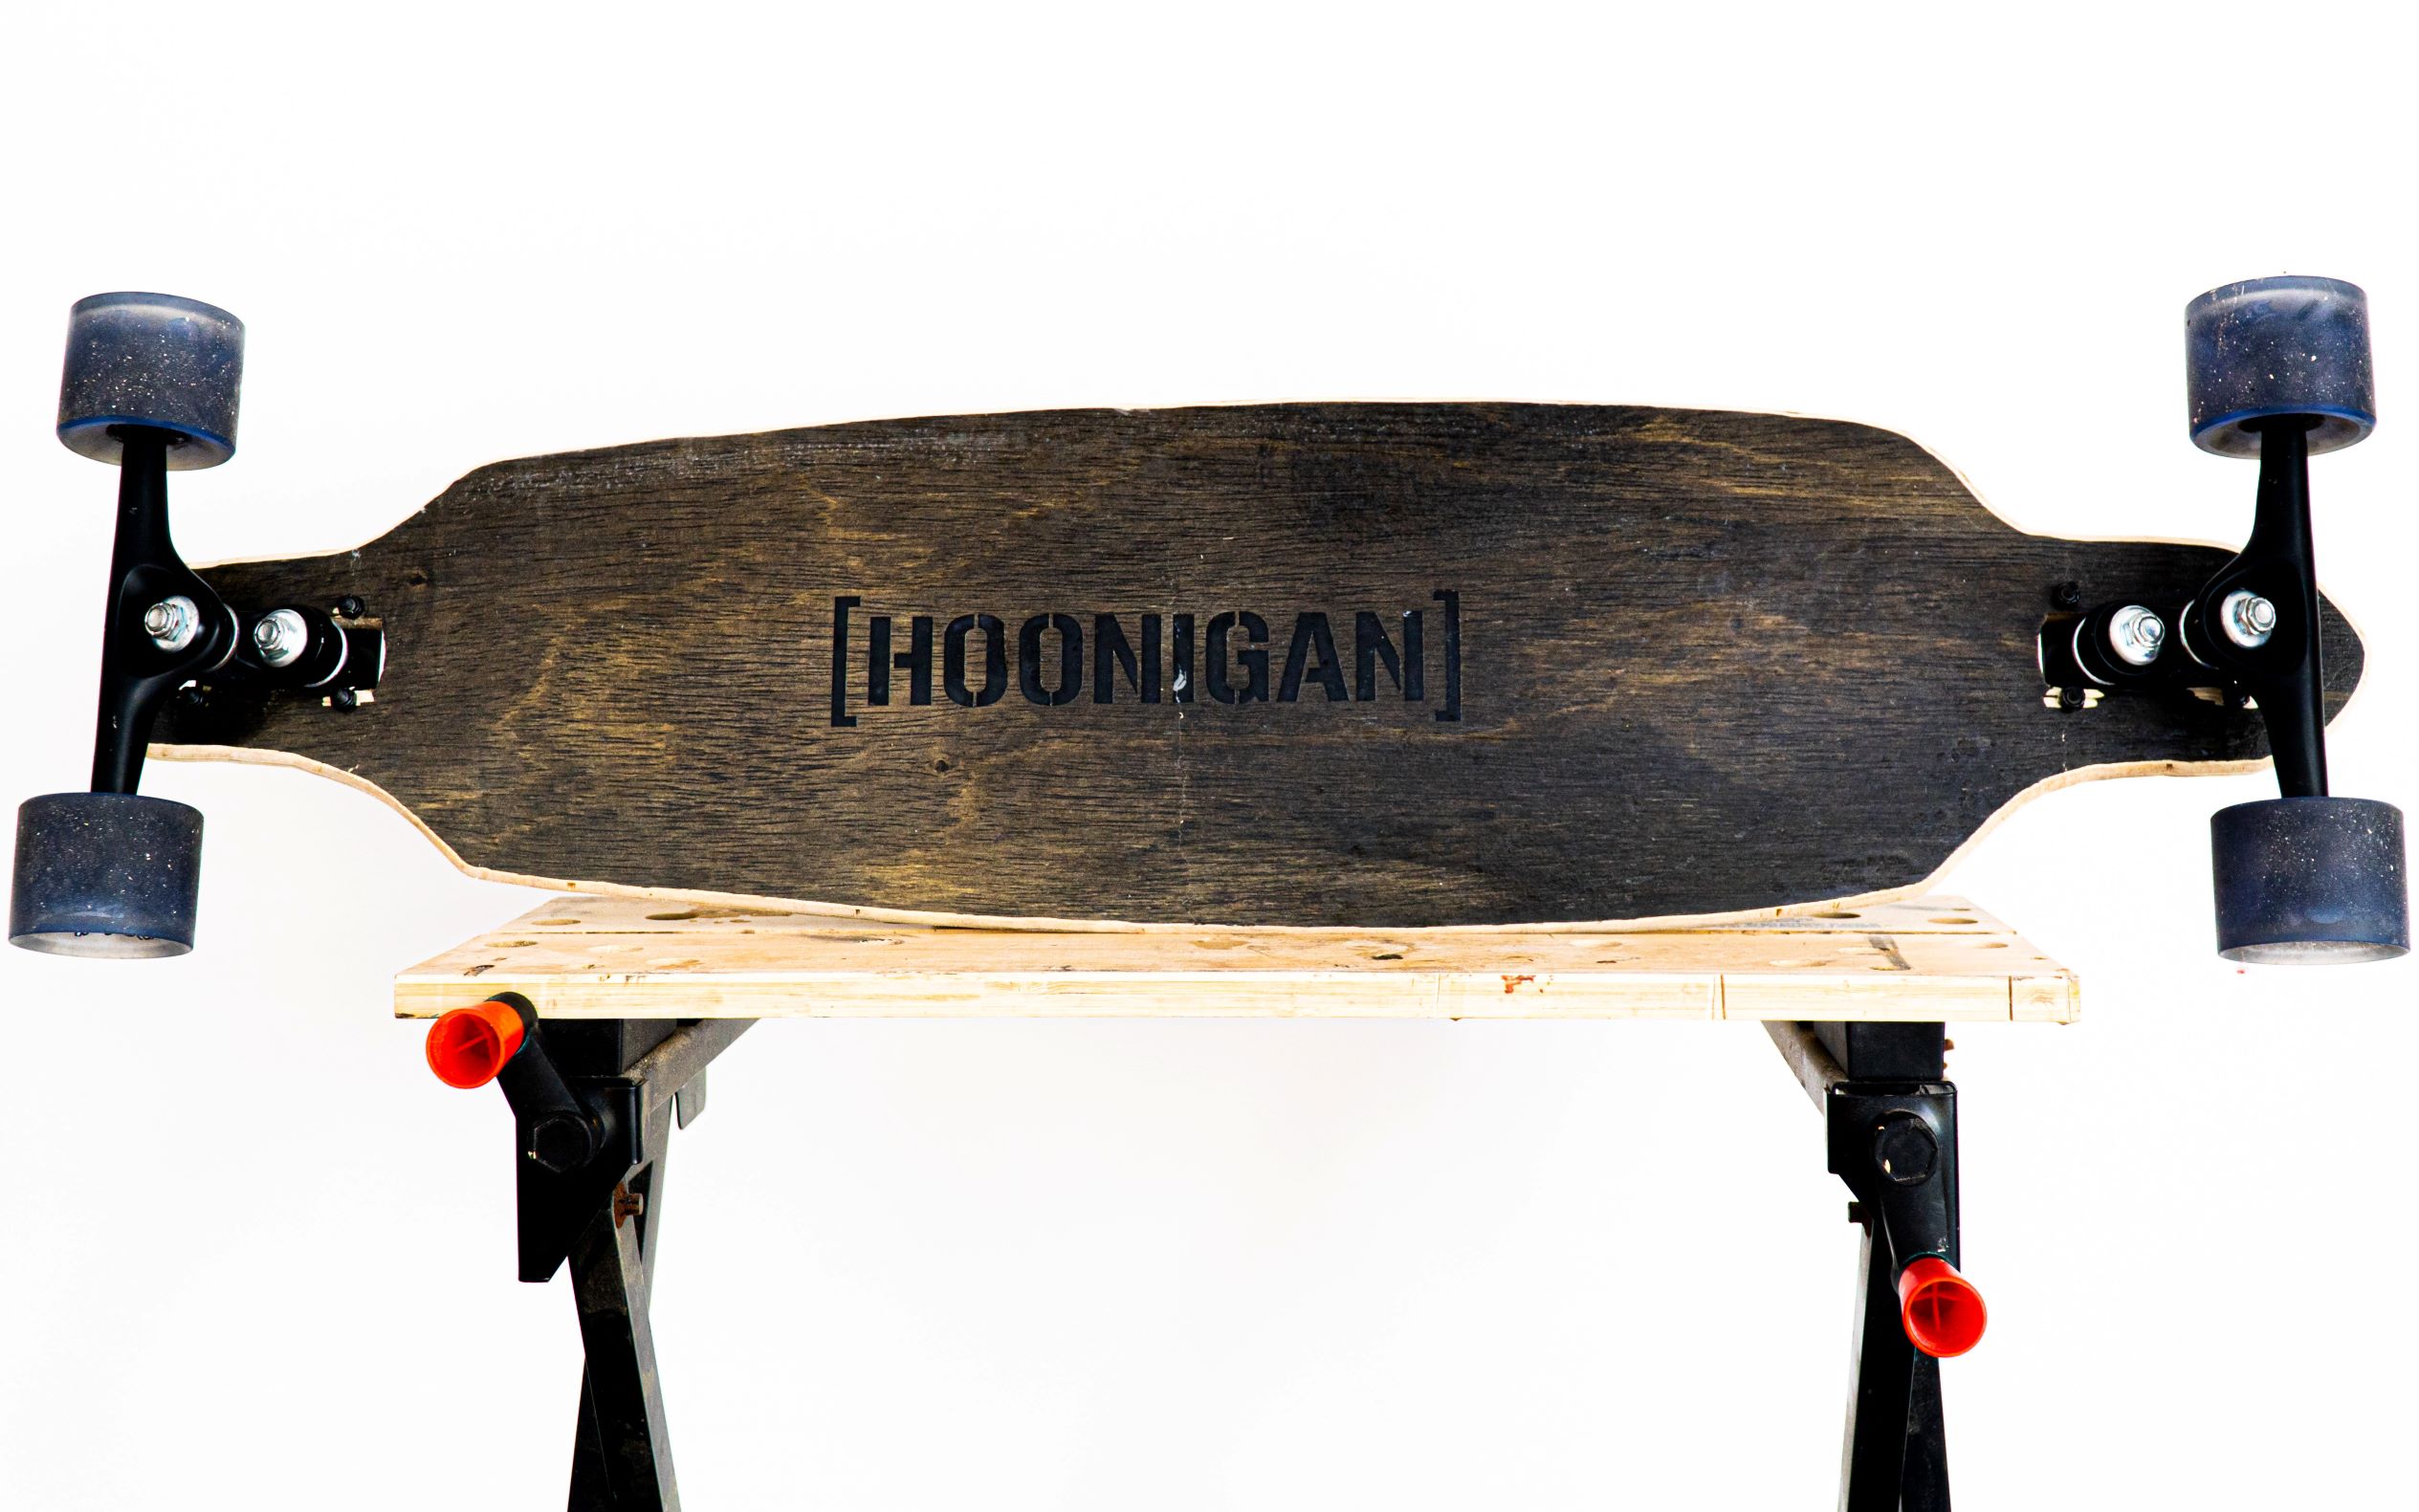
Final Product
After mounting the wheels, the longboard was complete. We were ready to test it out.